A blog about finding and keeping my 1973 Mustang Grande (V8 - 351C 2V). Produced on July 6, 1973. Sold in Florida, USA.

Monday, August 5, 2013

Identifying parts

I have decided to ditch the LPG kit. I want to make the car run on fuel only again. It'll make the car lighter, cleaner and simpler. All good things if I want to be able to work the car myself. So tonight I went over to have a look and learn about how things are hooked up.

This is the scariest bit; the connections with the tank. The right side is where LPG comes in to the tank. The connector is a valve so I should be able to just unscrew that. On the left is where LPG comes out and goes to the engine. The tank is closed by an electronic valve. With power off, it should remain closed when disconnecting things. But I think I'll try and get the tank as empty as possible.

I also wanted to check out a few things about my engine. What type it is and what carburetor sits on top. Never looked before but it appears I have an Edelbrock intake manifold.

An Edelbrock Performer LB 351-2V to be exact. No idea if that's good but it's probably better than the standard manifold...

(Click on image above for a much bigger version)
The engine compartment is a mess because of all the LPG crap in it. I want that filter gone and the original blue cap back on there. Also, the airco pump used to be where the air filter is now.

Another thing I wanted to figure out is wether my car is fitted with a 351W (Windsor) or a 351C (Cleveland) engine. For some reason people seem to favour the 351C over the 351W but from what I've read they are both fine engines. Advantage of the 351C is that it's a bit stronger "out of the box" and can be improved by screwing around with its own parts. The 351W is not as strong but has a lot more "after market" parts available for it. I guess the 351C doesn't need that many after market parts...

I read that the early seventies models all were equipped with the 351C type (if it had a 351 that is...). Anyway, one way of telling the difference between a 351W and a 351C is by counting the bolts that hold the valve cover. The 351W has 6, the 351C has 8. On mine I counted 8. And the remains of the yellow sticker also still show a bit of "351C". I'm pleased.

It was fun to learn about my car. I learned stuff :-)

Friday, August 2, 2013

The Marti report!

There is a garage in the USA run by a guy called Kevin Marti with access to the Ford database. For $40 he looks up details about your car and creates a PDF with those details that you then get emailed.

This report shows production dates but also the exact car specs as it came out of the factory. Engine codes, colours and installed options.

Now, at first glance there doesn't seem to be much special about this car. Also we can see that it was not white originally. Suits my fine because this looks better than bronze anyway I think... However, the production date is July 6, 1973. And this is believed to be the very last day ever that the Mustang series I (1964-1973) was produced. So my car could be the last Grande that ever came off the production line!

Thursday, July 25, 2013

Installing a smaller shifter console.

The Mustang Grande was the "luxury" version of the Mustang. Well, what was luxurious then is definitely not luxurious today, or at least it doesn't give me that luxurious feeling. But that's not what I bought the car for. I want it to be sporty. One of the things that is often standard in a luxury car is a big fat shifter console with an arm rest and sometimes cup holders etc. So my car has one as well, but I think it's really ugly. It's handy, fair enough, but it makes me feel cramped. Maybe that's because I'm a big guy... Anyway, it's going.

It's a big piece of plastic anyway.

One last look ;-)

This is what I bought second hand. It's a small shifter console from a 1971 Mach 1 which fits perfectly. All it needed was a real good clean. It's got an ash try that actually slides using ball bearings! Awesome ;-)

The big ugly console comes out after you remove 6 (or 8) screws. Don't forget to disconnect the wires for the clock. Oh, and keep a dust buster handy for spilt cigarette ash...

My carpet is reasonably new so I don't have any discoloration. To fix this new console I needed to drill three holes. I found this a bit scary because I had no idea what I was drilling in to but it went fine. I was told there is nothing directly underneath. The biggest pain in the ass was drilling through the carpet.

I put masking tape over it so that I could actually mark where I had to drill. The carpet made drilling very hard thought because the drill bit keeps getting caught in the hair which then pulls the drill side ways... Very annoying!

I used 3 of the screws from the old console. I pre-drilled the holes for them with a 2mm drill bit.

Victory!


I like it a lot better than the big console. It makes the cabin look nicer, cleaner and sportier.

Saturday, July 6, 2013

New key hanger

Many, many moons ago when I was a little boy (really, I was little, once!), I went to a ZZTop concert. I am, and have always been, a fan... At that concert about 15 years ago I bought this key hanger knowing that one day it would be used as intended. That day has now come!

They are proudly attached to my car keys now and dangle happily from the steering column whilst driving :-)

Saturday, June 1, 2013

Eva driving

My friend Eva came along today. We took the car for a spin (and refueling ;-) )

Sunday, May 19, 2013

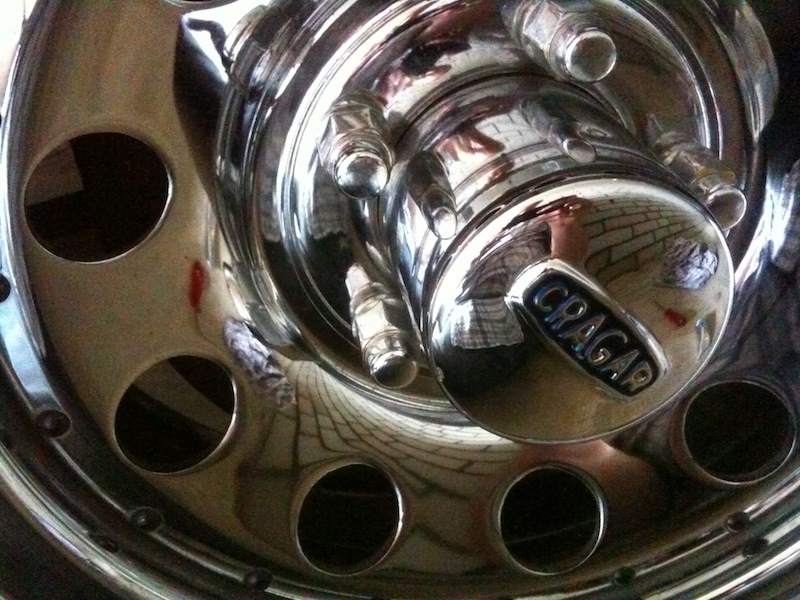
Polishing...

I thought I'd give my wheels a bit of a polish. It was a lot harder than I thought and I did not manage to get all the rusty bits off the rims.

However, they got pretty damn shiny!

Monday, May 6, 2013

Checking the bottom

I never had a good look at the bottom of my car. No idea how much rust there would be for example or if there are any holes or damages. So some folks I know from a Dutch Ford forum offered to jack it up in their garage so that we could have a look together. The results were very good!

Here are some pics:

Up! Up! Up!

And there it is. Let's have a look. Finding the jack points was a bit hard. It's in the owner's manual I have but even that's not overly clear.

In this picture you can kinda see on which four points the car is actually lifted. Click the picture for a slightly larger version. Bottom looks pretty clean...

Only a little bit of surface rust. Nothing to worry about.

Here you can see the back jack-points. It's basically just in front of where the spring is attached.

Sparkling clean, rust-free, rock-hard bottom. Exactly what I was hoping for :-) The only funny thing was the exhaust pipes. Somebody welded those together themselves.

Ditto.

And back on the ground.

Gorgeous.

Bye bye!